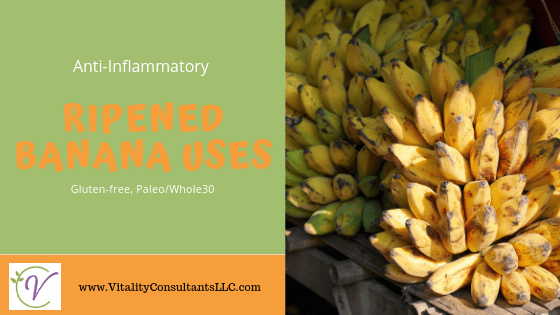
Bananas can replenish your stores of potassium, an essential mineral and electrolyte, which helps regulate heart function as well as fluid balance. They also contain vitamin B6, vitamin C, manganese, and fiber. Have you ever wondered what uses there are for ripened bananas? This post will give you lots of ideas.
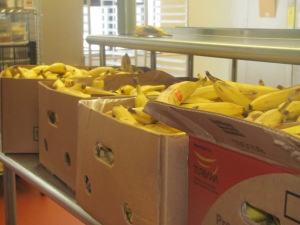
Last week when I walked into a local commissary kitchen, there were boxes and boxes of donated bananas. Not wanting any precious fruit to be wasted, we gave away as much as we could, and still had boxes to spare. I took a box home with me and my family ate them, froze them, dried them, and made some dessert. If you have bananas at home that are starting to brown, we hope this inspires you! There are lots of uses for ripened bananas!
Research conducted at the University of Innsbruck in Austria suggests that as fruits fully ripen, almost to the point of spoilage, their antioxidant levels actually increase.
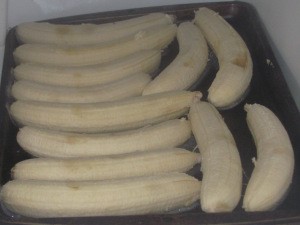
Freezing is a great way to save bananas for later use. Once frozen, they can be baked, made into smoothies, dipped into chocolate, or eaten as is for a healthy treat. Start by laying peeled bananas on a baking sheet in the freezer. This helps them to firm up and maintain shape. If you place peeled, unfrozen bananas in a bag, they are more likely to stick together. After your bananas are frozen solid, remove them from the tray and place them into large zip lock bags. Pre-freezing allows you to use just what you need without having to thaw the whole bag, (or attempt to break off each individual banana, which can be quite difficult).
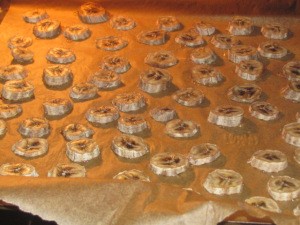
Drying bananas into banana chips is an easy way to render your own “candy.” Preheat the oven to 250°F. While the oven is warming, lay parchment paper down onto a baking sheet. Take a banana and slice it into uniform pieces about 1/8 thick. Having a slicer or food processor is ideal, so that each identical piece bakes at the same time. If you don’t have a slicer, just slice them as evenly as possible.
Our results: After an hour, some of the smaller bananas were ready to peel off the parchment paper. I kept checking on them every 15 minutes and pulling them off when done. I knew they were done when they seemed chewy and looked brown around the edges. If you want them crispy, it will take even longer. Some of the thicker slices took as long as two hours, so it might be wise to plan accordingly, and save this project for a rainy day. You could also use a dehydrator if you happen to have one.
Baking is also a great way to use up ripe bananas. The banana walnut muffins I made turned out great, despite it being my first attempt at a paleo muffin. (So try not to be intimidated!) Since they turned out well, I’d like to share the recipe.
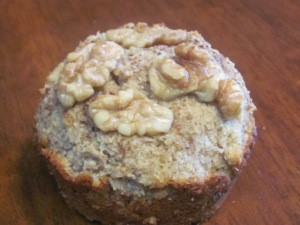
Banana Walnut Muffins
Ingredients
- 4 bananas 2.5 cups mashed
- 4 eggs
- ½ cup almond butter
- 4 Tbsp clarified butter or ghee coconut oil would work as well
- 1 Tbsp cinnamon
- 1 tsp vanilla
- 1 tsp baking soda
- ¼ tsp salt
- ½ cup of coconut flour
- walnuts for the top
Instructions
- Preheat oven to 350°F and grease or line muffin tins.
- In a large bowl, mix the wet ingredients until well combined.
- In a separate bowl, combine the dry ingredients and add to the large bowl, mixing all ingredients well.
- Cook for 30-35 minutes or until a toothpick comes out clean.
Notes
- Cranberry Orange – Only use 3 tablespoons of butter. Add zest of one whole orange diced, juice of one whole orange, and 1 cup dried cranberries or fresh if you want
- Chocolate Blueberry – Add 1 cup of fresh blueberries and 1/2 cup of cocoa powder
- Pumpkin Pecan – Reduce the almond butter to 1/4 cup and add 1/2 cup of pumpkin puree and 1 cup of roughly chopped pecan pieces.
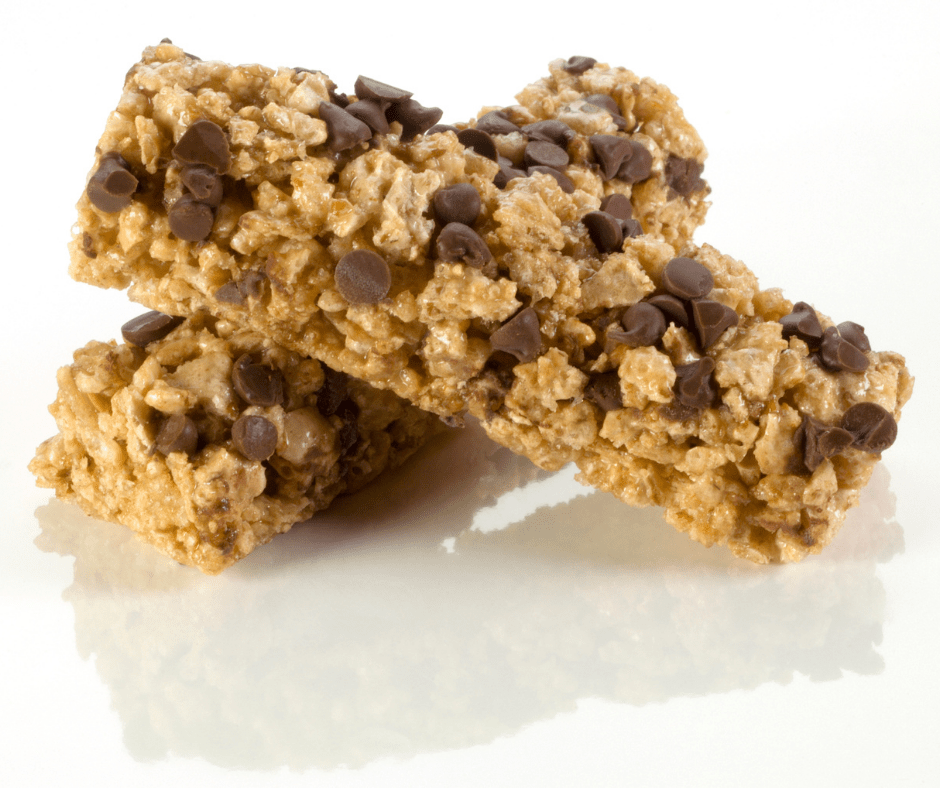
Banana Chocolate Chip Bars (or Cookies)
Ingredients
- 2 medium to large ripe bananas sliced
- ½ cup almond butter
- ¼ cup water
- 1 Tbsp vanilla extract
- 1 cup almond flour
- 1 tsp baking powder
- 1 tsp cinnamon
- ½ tsp salt
- ¼ cup Enjoy Life chocolate chips
- ¼ cup chopped walnuts or your favorite nut
- ¼ cup shredded coconut
- ¼ cup raisins optional
Instructions
- Preheat oven to 350°F and line a jelly roll pan or oblong baking dish with parchment paper.
- In a large bowl, add banana, almond butter, water and vanilla and beat with electric beaters until mostly smooth. Add the almond flour, baking powder, cinnamon and salt and beat until combined. Fold in chocolate chips, nuts, coconut and raisins if using.
- The dough will be sticky. Drop dough into pan and smooth until even.
- Bake for 16-18 minutes, or until the bottoms are golden. Cooking time will vary depending upon the thickness of your batter.
- Once cool, cut into bars. Enjoy as a healthy snack, breakfast or dessert! Surprise your kids with this treat in their lunch boxes.
Notes
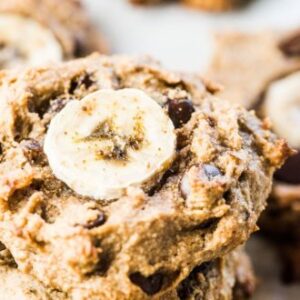 If making banana chocolate chip cookies, line a large baking sheet with parchment paper, drop the dough into 12 equal mounds on baking sheet and press a reserved banana slice into the top of each cookie to flatten it out a little. Bake for 16-18 minutes, or until the bottoms are golden, then remove the cookies from the oven and allow to cool. This recipe makes 12 cookies.
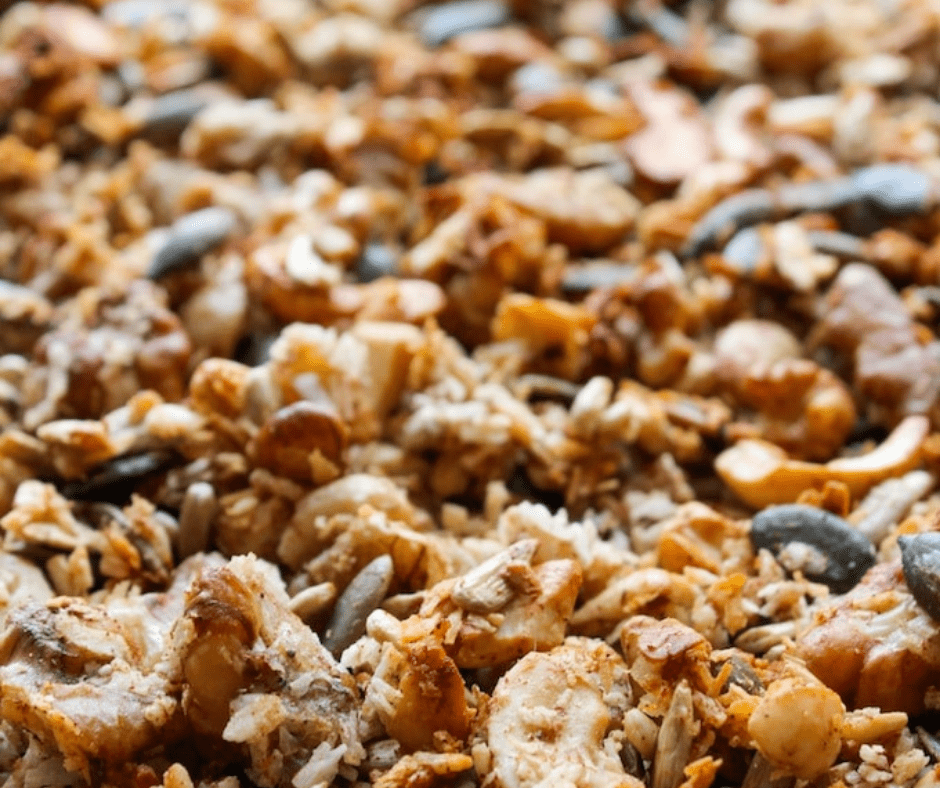
Banana Nut Granola
Ingredients
- 1 cup cashews roughly chopped
- 1 cup walnuts roughly chopped
- ¾ cup almonds roughly chopped
- 1 cup shredded coconut unsweetened
- ½ cup pepitas or pumpkin seeds
- ½ cup sunflower seeds
- 1 tsp nutmeg
- 1 Tbsp cinnamon
- ¼ cup coconut oil melted
- 2 medium to large bananas ripened and mashed
- 2 Tbsp pure maple syrup or honey
- 2 tsp vanilla extract
Instructions
- Preheat oven to 350°F and line a large baking sheet with parchment paper.
- In a large bowl, mix nuts, seeds, coconut, cinnamon and nutmeg until well combined.
- In a medium bowl, mash the bananas with a fork until most lumps disappear. Stir in coconut oil, vanilla extract and maple syrup.
- Pour the banana mixture over the nut mixture and stir until all nuts are coated with banana mixture.
- Spread the granola on lined baking sheet in an even layer and bake for 30-35 minutes. About halfway through baking, gently stir the granola so it cooks evenly. Once a golden brown color is reached, remove from the oven and cool before serving.
#healthyliving, #healthysweet, #wellness, #glutenfree, #lowercarbliving, #feedyourvitality
If you’re interested in an anti-inflammatory lifestyle and more information and recipes like this, check out The Official Anti-Inflammatory Diet Masterclass. Or email us at info@VitalityConsultantsLLC.com for more details.


